|

About The Green Rover
My 1960 through 2002 Land Rover Dormobile
owned since March 1978
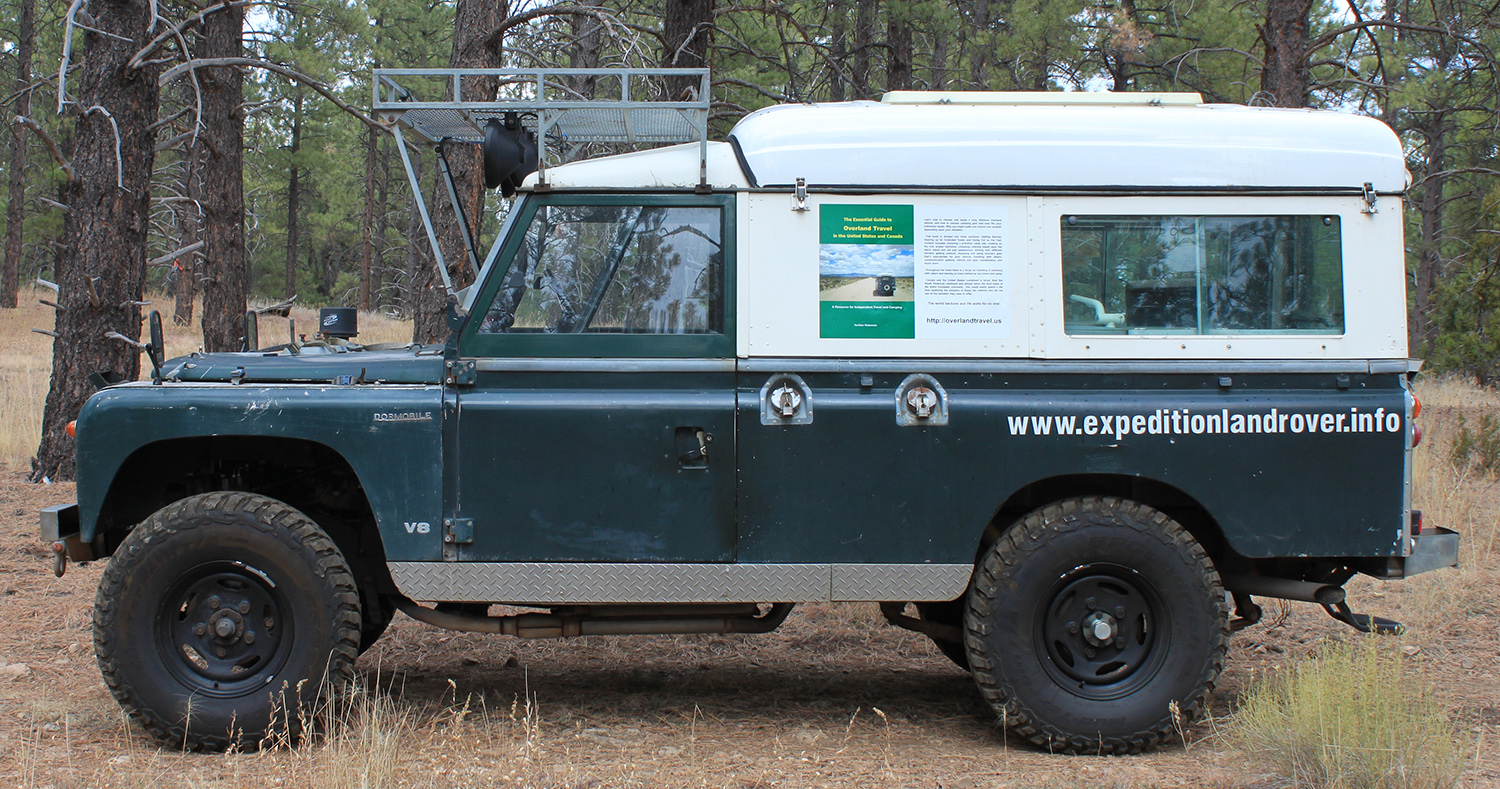
The Green rover, left side 2019
Hard top sides:
There are only 2 styles of hard top sides commonly available for the 109 regular, one with no windows and one with 2 fixed windows. I wanted a window that opens near the back where the kitchen unit and jump seat are located. What I did was get 2 sides for an 88, cut the back part off a blank side, the front part off a station wagon side and connect them together. The result was exactly what I wanted.
Front wing panels:
My front left wing had seen better days and I thought it was past time to replace it. At the time I had already converted to power brakes and was thinking of going to 35 inch tyres to better handle some of the rougher terrain I was driving. To accommodate 35 inch tyres without lifting the vehicle I decided to go with larger Defender style wheel arches. On the left side I used a Series III inner wing panel which already had the space for the power brake servo, an outer wing panel from a 1980s European Defender (no cutout for side lights) and retained the front panel. That gave me the extra clearance for for the taller tyres without lifting the truck (keeping the centre of gravity low).
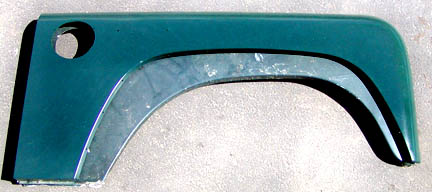
Defender wing panel over a Series wing panel showing the differences
For the right side I just changed the outer wing panel. I was planning to have a body shop form Defender style rear wheel arches. I had a trial fit with the 35s and discovered that I had to climb into the truck. Not easily done in a skirt (the truck also commuted to work). The tallest tyre I could use and still step into the truck were the 33.3 inch mud terrains, which fit into the rear wheel arches OK. So I went with the 255/85R16 tyres.
Front left fuel tank:
My truck has 3 fuel tanks, 2 up front and a rear tank. There is an optional front left fuel tank that is filled from a cap on the top of the tank. You have to remove the seat bottom to get to the cap and fill the tank inside the truck. My truck had one of those tanks when I purchased her in 1978. The tank was badly rusted and leaked. I wanted the extra range a second front tank could provide but didn't want to have to remove the seat cushion and fill the tank inside the vehicle. So I replaced the leaky tank with a new right side front tank and added a filler assembly for a front right tank. Then I took a new front filler hose, cut it in half and added a section of new exhaust pipe tubing between the two halves. It stretches the filler hose to fit and has been working trouble free for 39 years so far.
15 gallon stainless steel water tank:
A 109 regular (2 door) has a large empty area under the side bench between the rear wheel arch and the front fuel tank. The only thing there is the front spring outrigger. I decided that it was a perfect space to place a drinking water supply. There my drinking water would not take up any space inside or outside the truck. I designed a water tank that would completely fill that space. It sits on top of the spring outrigger with a hard rubber pad in between and is held in place by a top flange that sits on top of the side bench and a ring of sheet metal screws. For a filler I used the filler assembly for a front fuel tank, cutting off the internal section. I plumbed water pipes and tubing between the water tank and the inside of the filler unit, coating all the exposed metal inside the filler, including the inside of the fuel cap. So none of the metal from the gas filler touches the water. The water tank is connected to the inside water faucet through a 12V RV water pump and filter.
Bottom skirts:
When I purchased my truck the bottom skits were beat up and replacements were unavailable. I cut and riveted the aluminum sheets to strengthen the bottom skirts and provide a nicer appearance. The back of the 109 sides behind the rear wheels extend down to the level of the bottom skirts. If a 109 spends time in the rocks or slick rock, this part of the body often runs aground coming off a steep slope or large rock. Mine were beat up and bent in when I purchased the truck. The common repair and preventative is the cut that part of the body off level with the forward body without the side skirts. This provides much needed clearance when driving in the rocks.
Door tops:
Over time my door tops rusted badly enough to need replacing. In 1996 I replaced them with aftermarket Series door tops. Door tops angle in for a close fit with the windscreen and top sides. The aftermarket tops didn't angle in enough leaving a gap that let water flow in during a rain. 16 years later they were so badly rusted that they had to be removed in pieces. I decided that I was done with aftermarket junk that didn't fit properly and rusted early, so spent the money to purchase genuine Land Rover mid 1990s D90 door tops. The fit was perfect, the inside of my truck is dryer, and opening the front window halves allows air in without the intense blowing you get from the back pane being open. It works a lot like the old air wings of 1950s and earlier cars.
Learn more about my truck:
Introduction and drive train description
front view
Right view
Rear view
Return to page top
|